Feedback Form
Overview
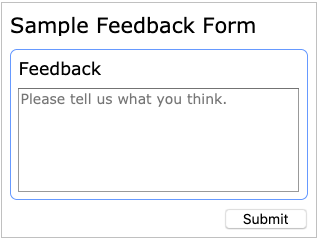
The 5-minute feedback form is a minimalistic input form used to introduce basic form creation, error messages, and the code generator. It shows how to run the generated HTML form client-only, client-server, and with database support.
Form Design
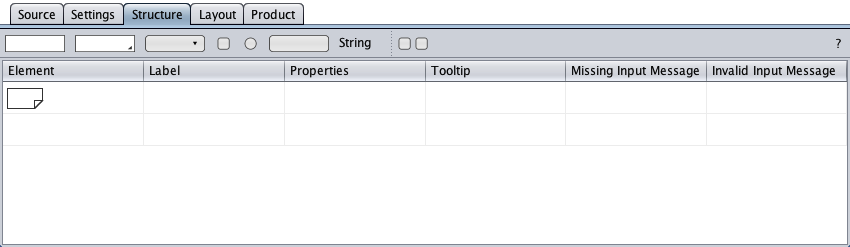
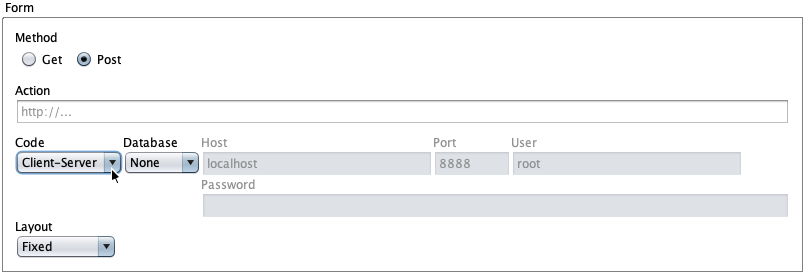
Download and start the form designer. You will see the below empty form.
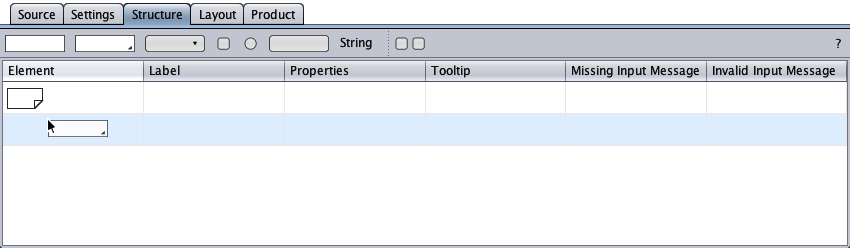
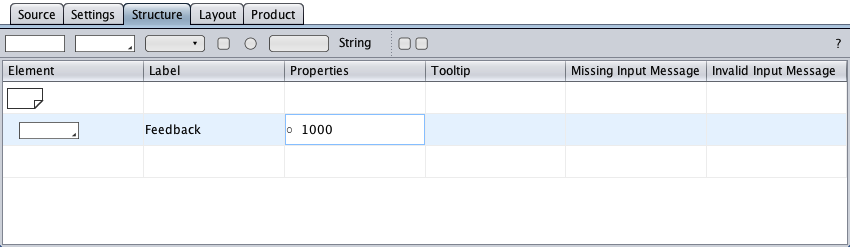
Drag-and-drop a text area symbol from the toolbar on the "Element" column to create a text area component.
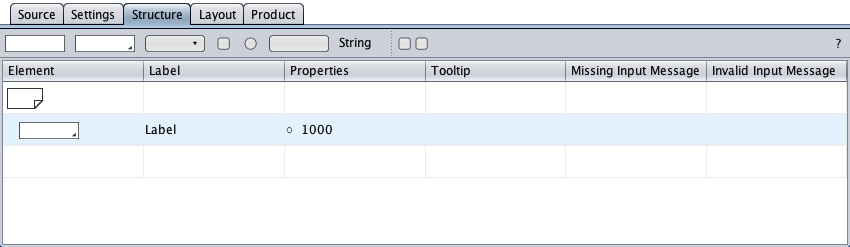
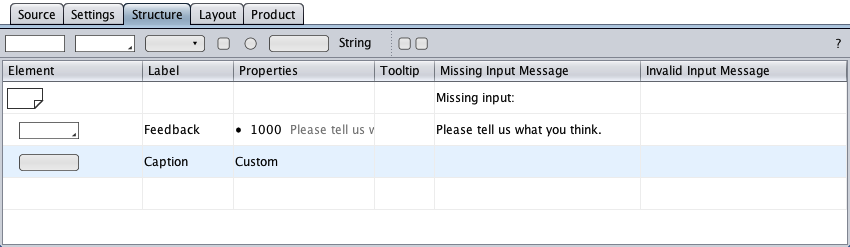
Shown below is the text area component as dropped on the form. The text area's initial label is "Label". The Properties cell shows the default settings of the text area: input is not required (empty circle in the Properties cell), but limited to a maximum of 1000 characters.
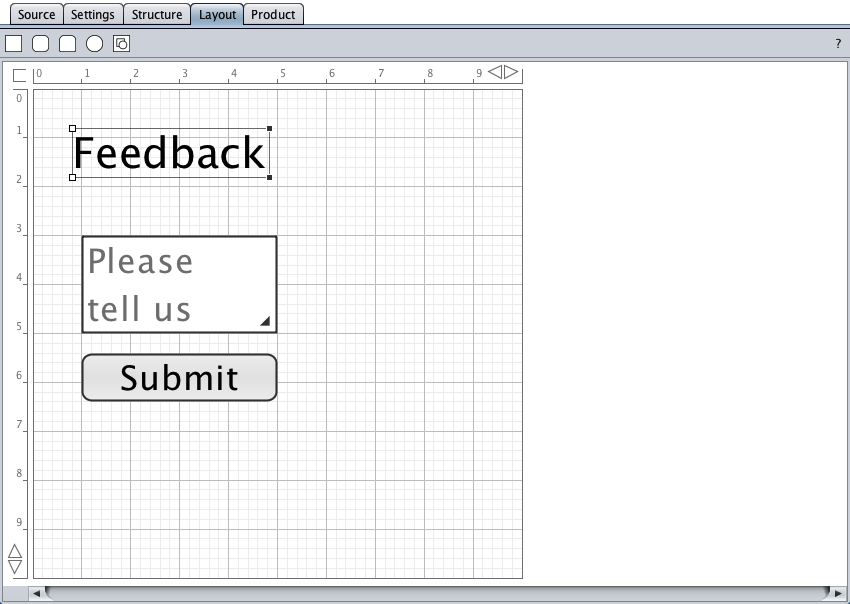
Double-click the text area's Label cell and change the label to "Feedback".

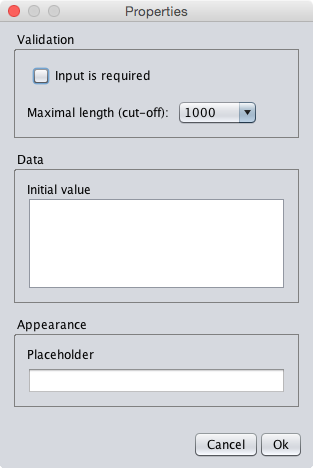
Double-click the text area's Properties cell …
… to open the Properties dialog. Set the input required. Enter a placeholder text, for example "Please tell us what you think.". Click Ok to confirm the changes.

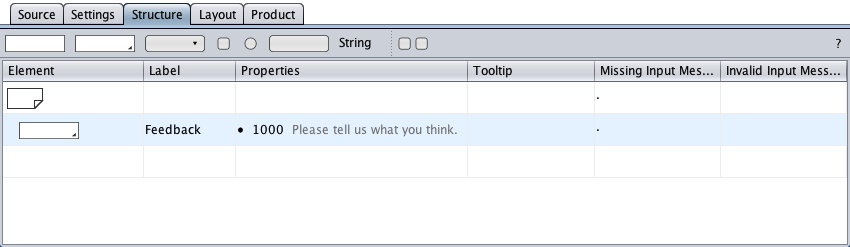
Increase the Properties cell's column width. The Properties cell's first entry turned into a filled circle and indicates that input is required. The other entries are the maximum number of characters and the grayed placeholder text. Two dots have appeared in the "Missing Input Message" column to indicate that error messages should be entered (input is required).
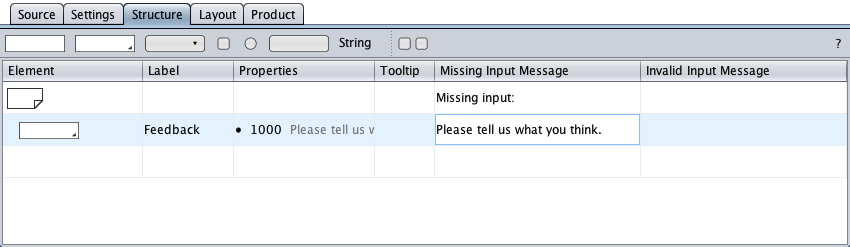
Increase the "Missing Input Message" column width. Enter error messages, for example "Missing input:" as error message header and "Please tell us what you think." as error message text.
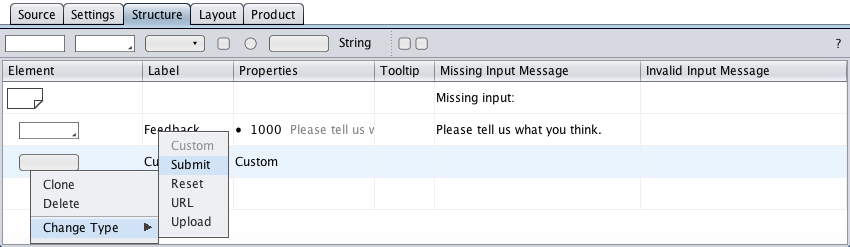
Right-click the button symbol to open the button's context menu. Click on "Change Type" and then on "Submit" to turn the custom button into a submit button.
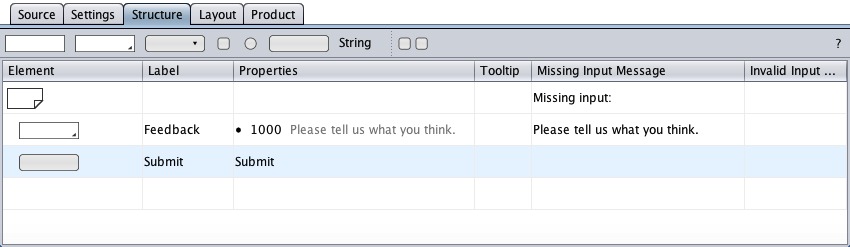
Keep the default button caption "Submit". Now the structure of the feedback form is complete.
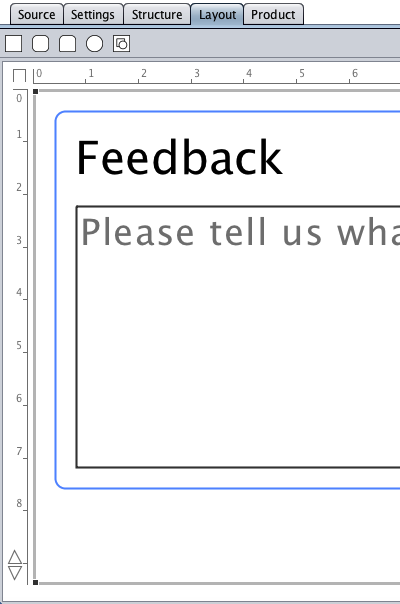
Form Layout
Switch to the
layout
view with its initial form layout. Toggle the
view mode
![]() as convenient.
as convenient.
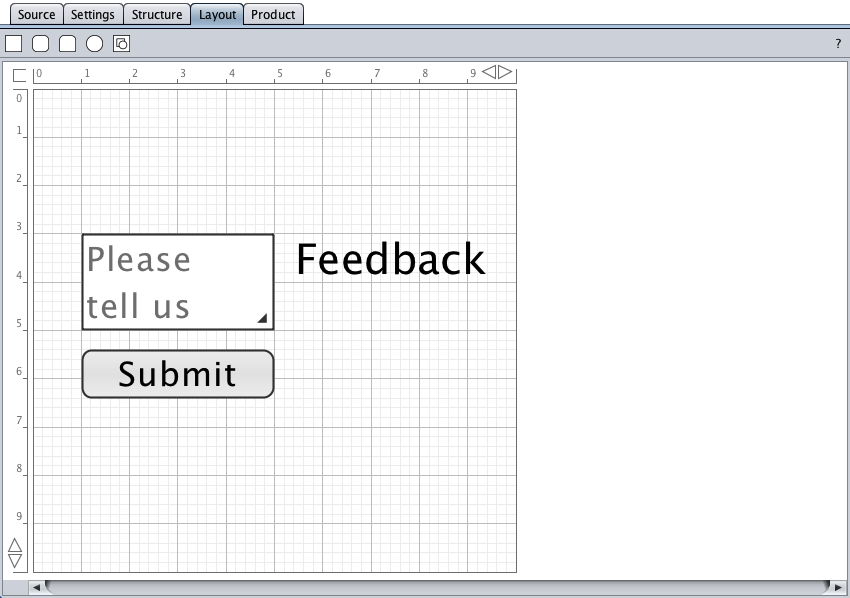
The form elements are drawing objects on a canvas in the layout view. They can be moved on the canvas or resized using the resize handles.
Click repeatedly on the top-right
ruler arrow
(shift key pressed)
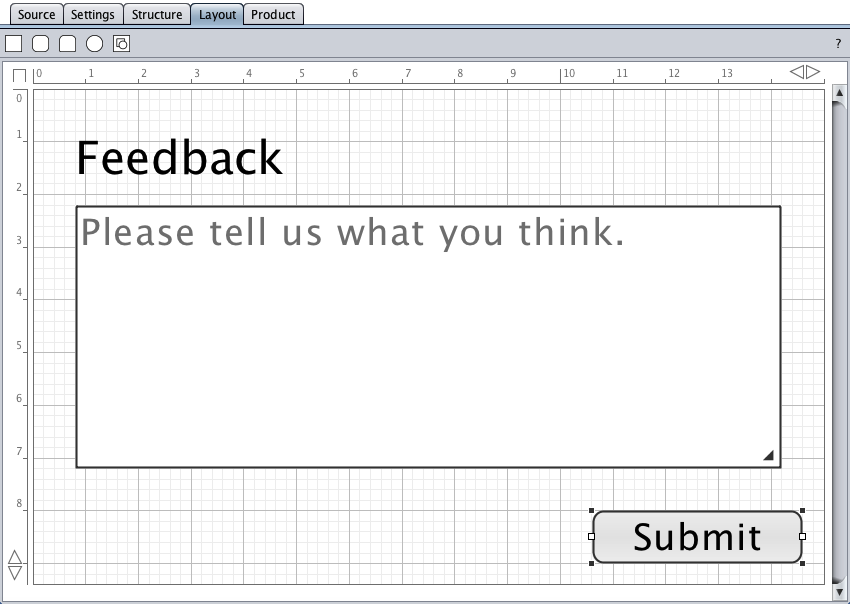
![]() to increase the page width to e.g. 15 units. Rearrange the form objects as shown below. Reduce the page height.
to increase the page width to e.g. 15 units. Rearrange the form objects as shown below. Reduce the page height.
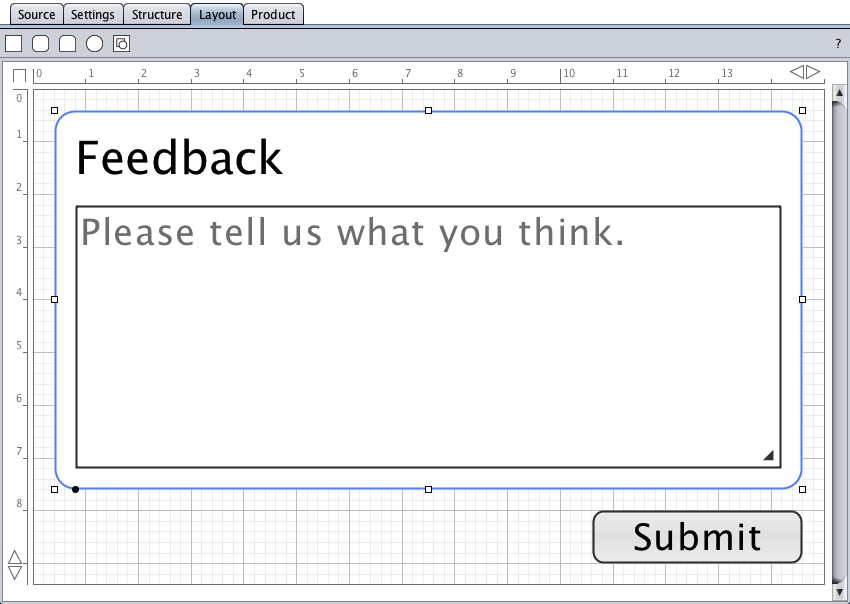
Drag-and-drop a round-corners rectangle from the toolbar and draw the blue rectangle below.
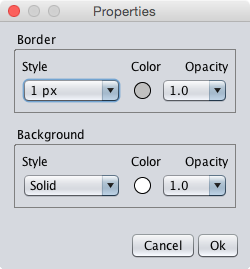
Double-click the page background to open the page's properties dialog and to set border and background.
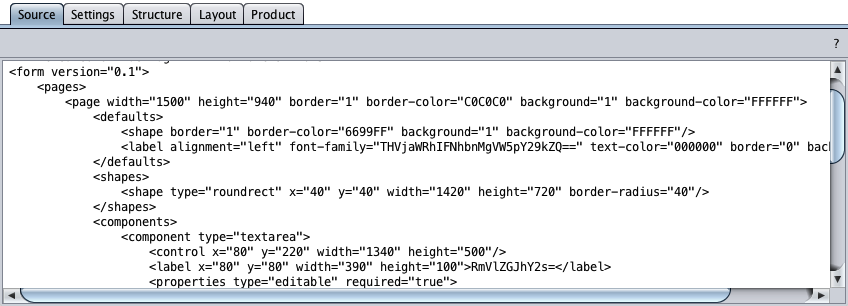
Click the source tab, copy your form's source code to the system clipboard (Ctrl+a, Ctrl+c), paste it into a text editor, and save it to your file system.
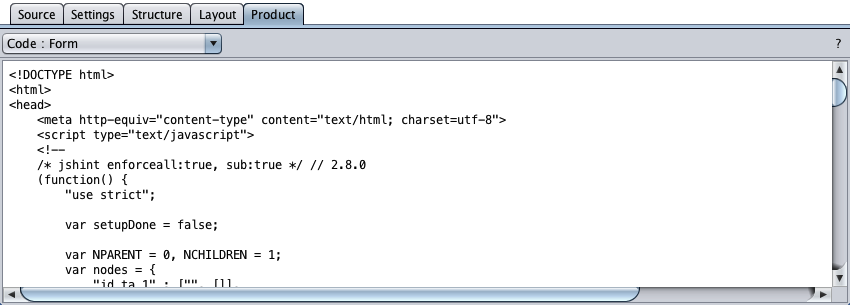
Client Application
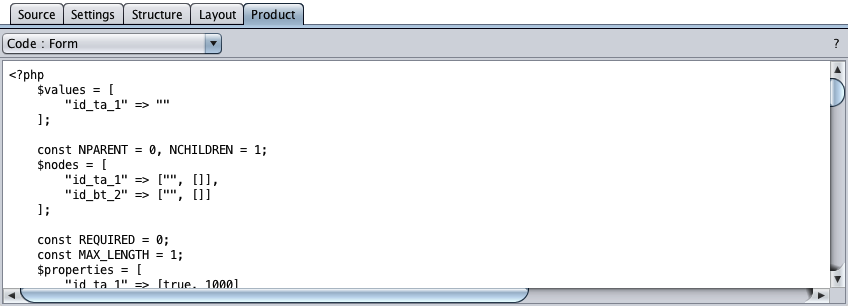
Click the product tab, copy the generated code to the system clipboard (Ctrl+a, Ctrl+c), paste it into a text editor, and save it to your file system, for example as index.html .
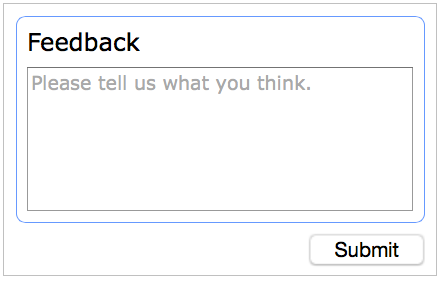
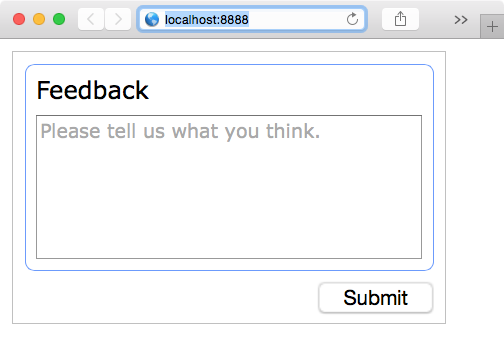
Load index.html in your browser to launch the HTML form. Your HTML form is ready for input.
Client-Server Application
Click the Settings tab and switch to the Form settings. Select the "Client-Server" option. The code generator will create a client-server form application.
Click the product tab, copy the generated code to the system clipboard (Ctrl+a, Ctrl+c), paste it into a text editor, and save it as index.php to your local file system or to a server. If you are using the Apache web server (e.g. local LAMP, MAMP, or WAMP), htdocs is the index.php folder.
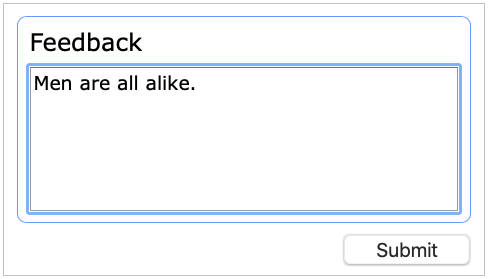
The HTML form below was launched by a local Apache web server (MAMP) at port 8888, so localhost:8888 was typed in the browser's address field.
Database Support
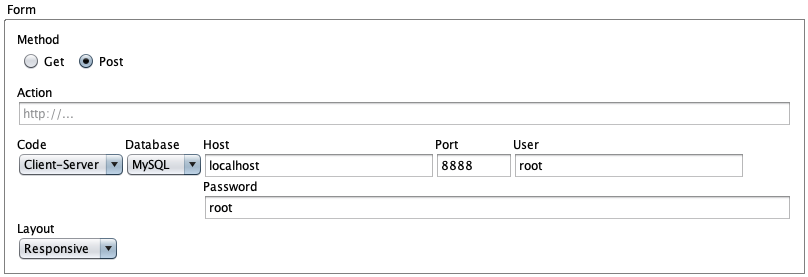
Click the settings tab, select the client-server code and the database "MySQL" options. Enter the MySQL root password if required - MySQL has no initial root password, MAMP's initial MySQL root password is "root" (see LAMP, MAMP, or WAMP).
Click the product tab and save the new code to the server folder.
Load the form again, enter feedback, and submit the form.
Shown below is what we have in our database.
                "1"
                "Men are all alike."
                "2020-02-03 19:57:58"
The last entry is the record's timestamp (sample update on 2020-Feb-03).
Source Code
Below is the source code of the feedback client application.
<?xml version="1.0" encoding="us-ascii" standalone="yes"?>
<form>
	<pages>
		<page width="1500" height="940" border="1" border-color="C0C0C0" border-opacity="10" background="1" background-color="FFFFFF" background-opacity="10">
			<defaults>
				<shape border="1" border-color="6699FF" border-opacity="10" background="1" background-color="FFFFFF" background-opacity="10"/>
				<label alignment="left" font-family="THVjaWRhIFNhbnMgVW5pY29kZQ==" text-color="000000" text-opacity="10" border="0" background="0"/>
			</defaults>
			<shapes>
				<shape type="roundrect" x="40" y="40" width="1420" height="720" border-radius="20"/>
			</shapes>
			<components>
				<component type="textarea">
					<control x="80" y="220" width="1340" height="500"/>
					<label x="80" y="80" width="410" height="100">RmVlZGJhY2s=</label>
					<properties type="editable" required="true">
						<placeholder>UGxlYXNlIHRlbGwgdXMgd2hhdCB5b3UgdGhpbmsu</placeholder>
						<max-length>1000</max-length>
					</properties>
					<messages>
						<missing-input>UGxlYXNlIHRlbGwgdXMgd2hhdCB5b3UgdGhpbmsu</missing-input>
					</messages>
				</component>
				<component type="button">
					<control x="1060" y="800" width="400"/>
					<label>U3VibWl0</label>
					<properties type="submit">
					</properties>
				</component>
			</components>
			<messages>
				<missing-input>TWlzc2luZyBpbnB1dDo=</missing-input>
			</messages>
		</page>
	</pages>
</form>